How to Print a Test Page on Epson Printers: A Complete Guide
Running a test page on your Epson printer is one of the easiest and smartest things you can do to keep your printer working great. Just like a quick health check keeps you feeling good, a test page keeps your printer in top shape.
It takes less than a minute and helps you avoid bad prints, wasted ink, or sudden problems.
What You will Learn from a Test Page
Here’s what a basic test page can show you:
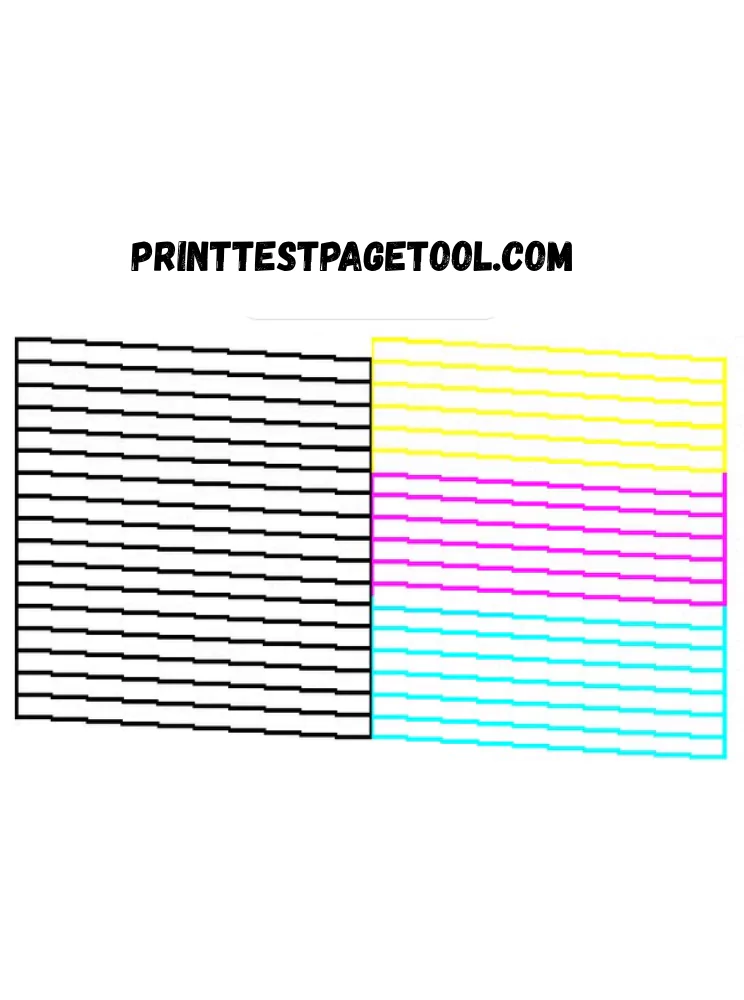
Ink Nozzles Are Clear
Make sure the ink flows smoothly with no streaks or missing lines
Text and Images Are Aligned
Fix blurry or off-center prints before they waste paper
Colors Look Right
Get prints that match your screen perfectly (great for photos and designs)
Ink Levels Are Okay
Catch low ink early so you’re never stuck during important work
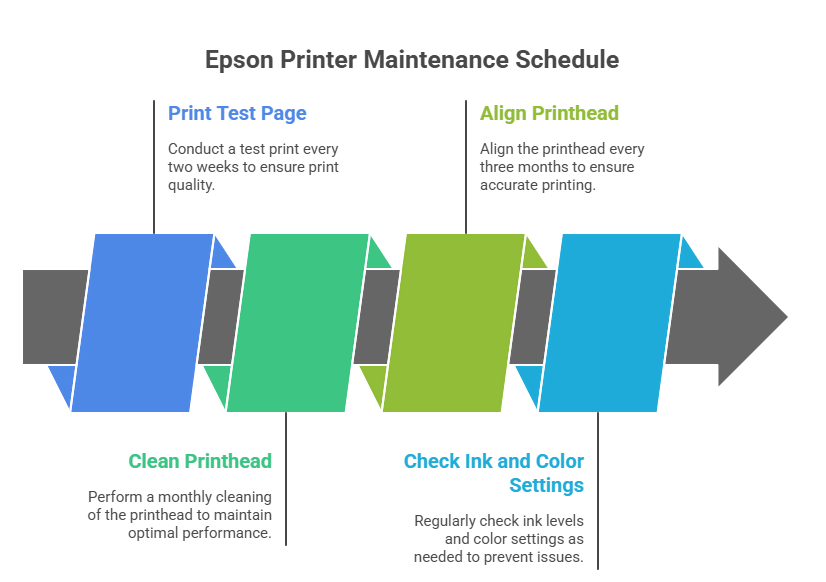
Pro Tip: Print a test page every 2 to 4 weeks, especially if you have not used the printer lately. This helps keep your printer clean and your ink working well.
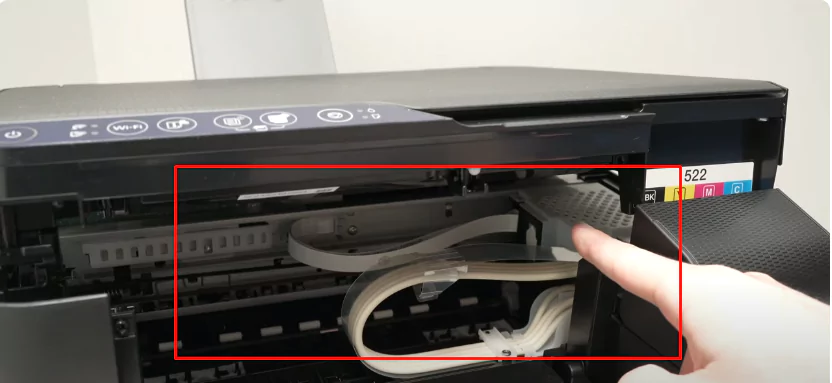
How to Prepare Your Epson Printer Before Printing a Test Page
Getting your Epson printer ready is quick and easy and it ensures your test page prints perfectly the first time. A few simple checks will save you time, ink, and frustration. Follow these Simple steps to set up your printer for success:
Confirm Your Ink Levels Are Full
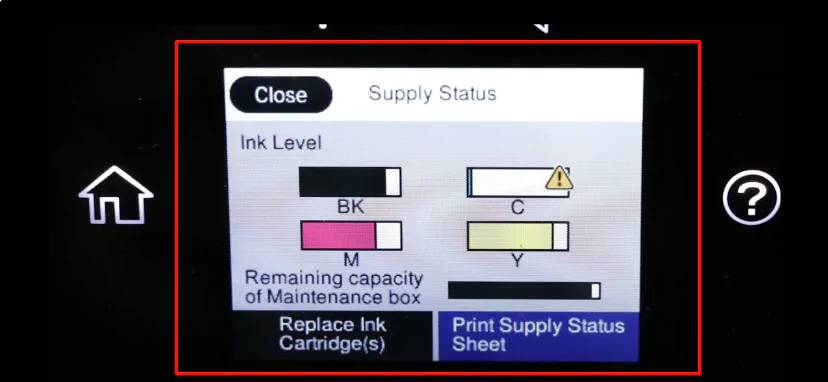
Check your ink cartridges using your Epson printer software or the control panel on the printer. If the ink levels are low, top them up before printing.
Pro Tip: Using genuine Epson ink gives you better print quality and helps avoid clogging issues.
Load Paper the Right Way
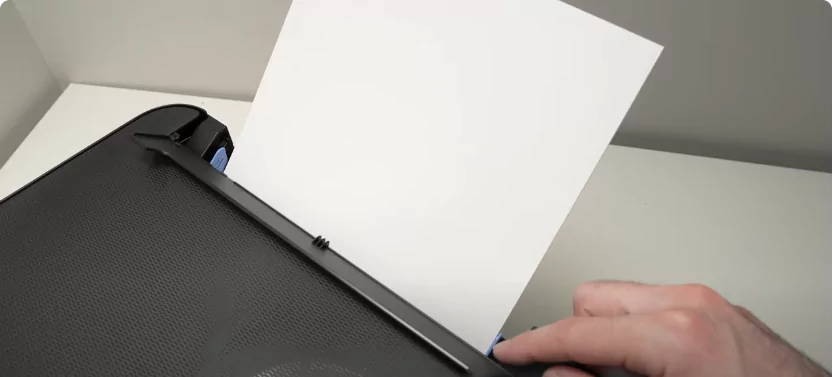
Place clean paper into the paper tray. Make sure the paper is straight and the tray isn’t too full. This helps your printer take the paper easily.
Clear Any Warnings or Paper Jams
Check your printer screen or computer for any error messages like “Paper Jam” or “Offline.” Follow the on-screen instructions or your printer manual to fix them quickly.
Run a Quick Printhead Cleaning
If you have not used your printer recently or noticed poor print results, run a printhead cleaning or nozzle check from the printer settings. This helps prevent blurry or streaky prints.
Do not worry the cleaning process is automatic and only takes a minute!
How to Print a Test Page on Epson Printers (3 Easy Methods)
Quick ways to check ink, alignment, and print quality
Running a test page on your Epson printer helps you spot issues early—like missing colors, blurry lines, or low ink. Below are 3 easy methods to try, whether you are using buttons or your pc.
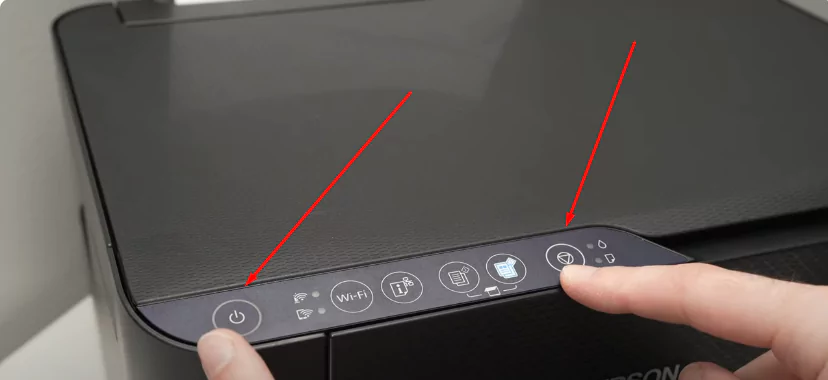
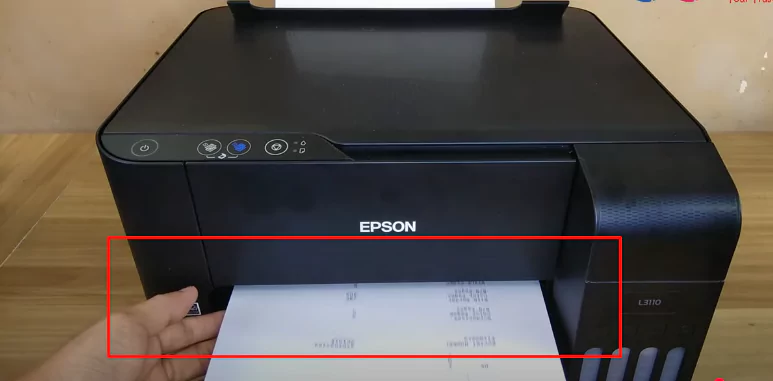
Method 1: Use Printer Buttons (No Computer Needed)
Fastest way to run a test print
You can print a test page directly from your Epson printer, no computer required.
Button Combinations (By Model):
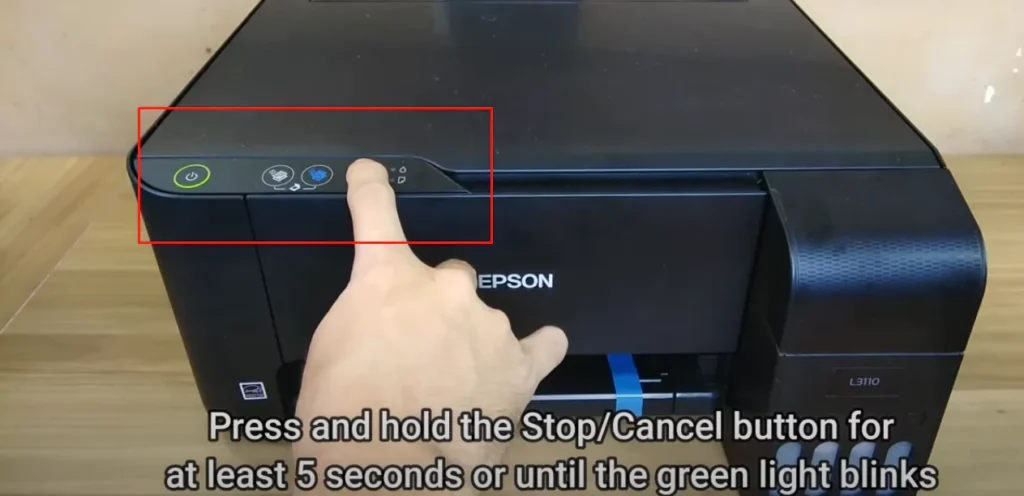
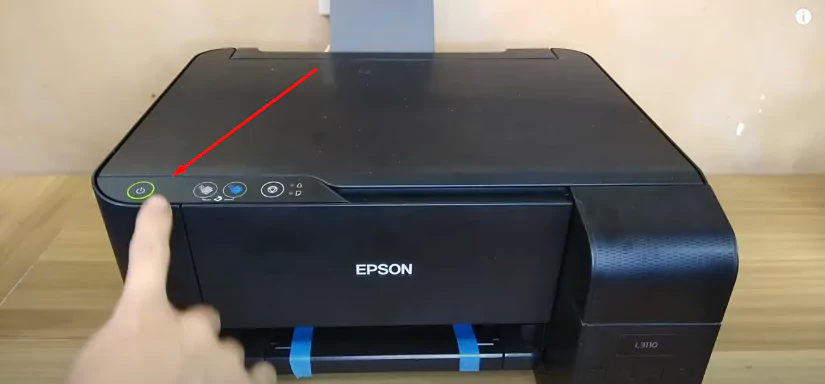
EcoTank Series: Hold the Maintenance or Resume button for 5 seconds
Expression Series: Hold both Black and Color buttons for 3 seconds
WorkForce Series: Go to Setup → Maintenance → Print Test Page
Tip: If your printer beeps or the lights blink, it means the test page is starting.
Method 2: Use Epson Software (Windows/Mac)
Best for advanced settings and control
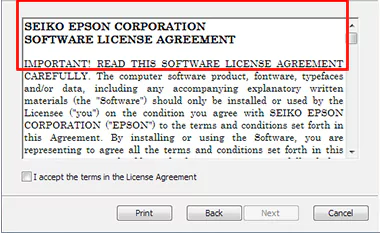
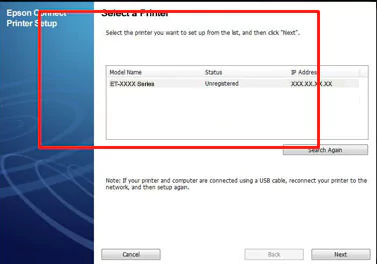
Step 1: Open Epson Printer Utility or Smart Panel
Make sure your printer is powered on and connected (Wi-Fi or USB).
Step 2: Navigate to the Maintenance Section
Look for Settings, Maintenance, or Utilities.
Step 3: Select a Test Option
Choose from:
- Choose from:
- Print Test Page
- Nozzle Check
- Head Cleaning
- Print Alignment
Pro Tip: Keep your printer drivers updated to avoid false errors or software bugs.
Method 3: Use Your System Settings (Windows or Mac)
No extra software needed!
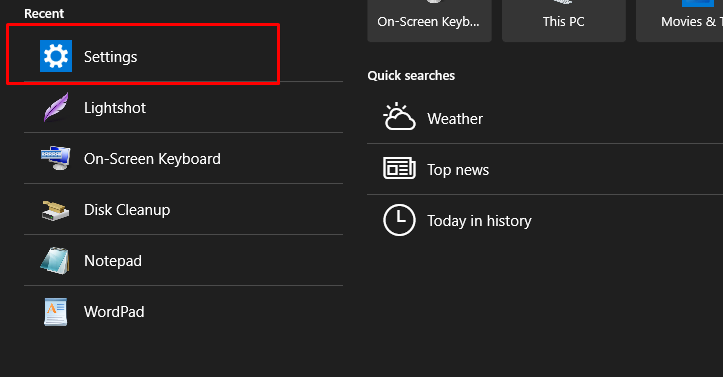
Windows
First, open your computer’s Settings. You can do this by clicking the Start menu and selecting Settings, or press Windows key + I on your keyboard.
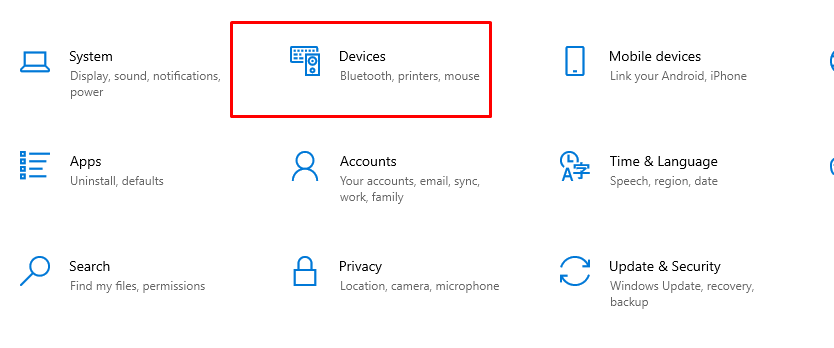
Next, click on “Devices.” This section manages all your connected devices like Bluetooth, printers, and more.
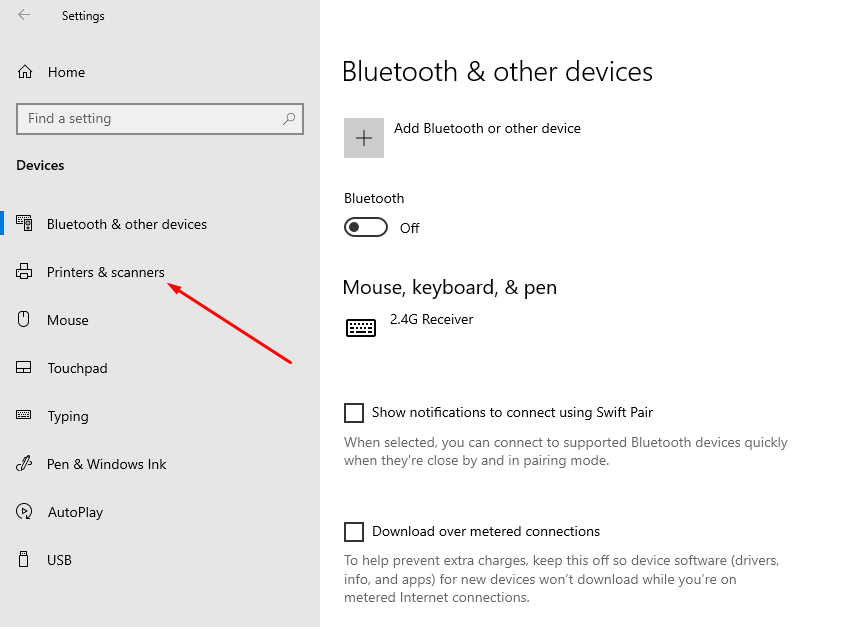
Now, choose “Printers & Scanners.” You will see a list of all printers connected to your computer.
Mac
- Open System Preferences > Printers & Scanners
- Select your Epson printer
- Click Options & Supplies > Utility > Print Test Page
Easy and Quick: This method works on most Epson models and is great for basic checks.
What to Check on the Test Page
After printing:
- Are the colors clear and correct?
- Is the text sharp, not blurry?
- Any lines missing or faded?
How to Fix Common Epson Printer Test Page Issues (Simple Guide by a Printer Expert)
Printing a test page on your Epson printer is an easy way to make sure everything is working properly. But what if the test page does not print correctly or shows poor results?
Do not worry I have fixed hundreds of these issues across Epson EcoTank, WorkForce, and Expression models. Here’s what works:
1.The Test Page Doesn’t Print at All
Problem: You click “Print Test Page,” but the printer doesn’t respond.
What to Do:
Check Your Ink Levels
If even one cartridge is empty, Epson printers may block the test page to prevent damage. Open the printer settings or control panel to see ink levels.
Clean the Printhead
Go to: Epson Software → Maintenance → Head Cleaning Run the cleaning cycle once, wait 5 minutes, and avoid repeating it more than 3 times in a row to save ink.
Try a Manual Test
Use the printer buttons instead of your computer. This helps you confirm if the issue is software-related.
Full Power Reset
Switch off your printer and remove the power plug from the socket.then plug it back in. Also, make sure your USB cable or Wi-Fi connection is secure.
Expert Tip: I once helped a client fix an Epson ET-4700 by simply replacing a worn-out USB cable. Always check connections.
2.The Test Page Has Missing Colors or Faded Text
Problem: The test page prints, but some parts are missing or colors are weak. What to Do:
What to Do:
Use a Nozzle Check
Run the Nozzle Check from the Epson Printer Utility. This will show if any ink nozzles are clogged.
Manually Moisten the Printhead
Dampen a paper towel with distilled water and hold it gently against the printhead. Wait for 5 to 10 minutes so the dry ink can loosen up.
Align the Printhead
Blurry or double text? Go to: Open Epson Software, go to “Maintenance,” then choose “Print Head Alignment.”
Run the alignment and print another test page to confirm the fix.
Expert Insight: If streaks move when the printhead moves, it’s a misalignment. If they stay in place, it’s a clog.
The Test Page Colors Are All Wrong
Problem: Reds look orange, blues look purple, or everything looks “off”.
What to Do:
Check Color Profiles
Make sure your printer’s color settings match the document.If you’re not sure which setting to choose, just use the default Epson color settings.
Run a Color Calibration
Use the color calibration feature in your printer software. This corrects how colors are printed.
Select the Right Paper Type
Wrong settings like “Matte” for glossy paper can affect color. Go to: File → Print → Properties → Paper Type
Final Tip from Experience
As someone who works with Epson printers daily, I always recommend printing a test page every few weeks especially if the printer hasn’t been used.
It’s the easiest way to prevent clogs, misalignments, and low-ink surprises. If your test page still isn’t printing right after these steps, check your printer driver version or visit Epson’s official support page.