How to Print Photos on Coffee Mugs at Home (With Pictures) 2025
Have you ever wished to drink a tea or coffee in a mug with your own photo or design? I tried this last year when I wanted to make a birthday gift for my sister. Instead of buying a normal mug, I printed her picture on a coffee mug at home. It was simple and fun. With a normal printer, special paper, and heat press, I changed a plain ceramic mug into a special memory mug.
Custom mugs are loved by everyone. You can use them as gifts, keep them at home with family photos, or even start a small business. The good news is you can do this yourself at home with just a few things.
In this guide, I will share the easy way to print on mugs, step by step. You will learn about the tools, the process, and useful tips so that by the end, you can create your own custom coffee mug whether it’s for family, friends, or your business idea.
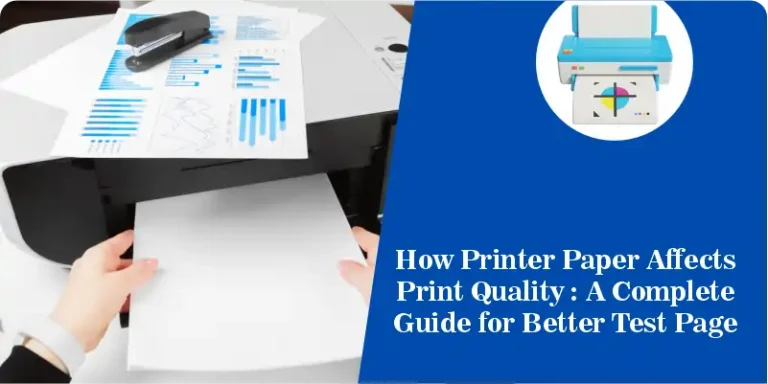
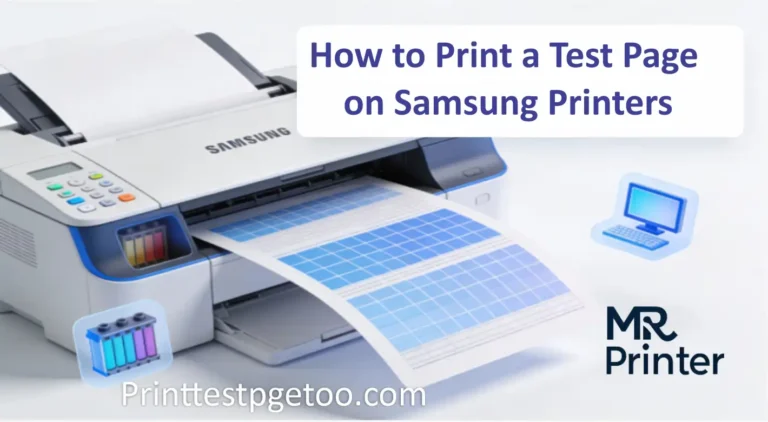
Before starting mug printing, it’s always good to check if your printer is working fine. You can do that by running a quick printer test page.
Tools & Materials Needed
Before we start printing, you need some simple things. When I made my first custom mug, I collected these items at home. Most of them are easy to find and not very costly.
Blank Mug
- Best is a ceramic sublimation mug.
- These mugs have a special coating that helps the ink stick well.
Printer
- You can use an Epson printer or any sublimation printer.
- It works with sublimation ink for better colors.
If you are using an Epson printer for sublimation, make sure it’s printing correctly. Here’s a full guide on how to print a test page on Epson printers .
Sublimation Paper / Transfer Paper
- This paper is made for mug printing.
- It keeps the design safe until heat is applied.
Heat Press / Mug Press Machine
- This machine uses high temperature and pressure.
- It helps move the photo from paper to the mug.
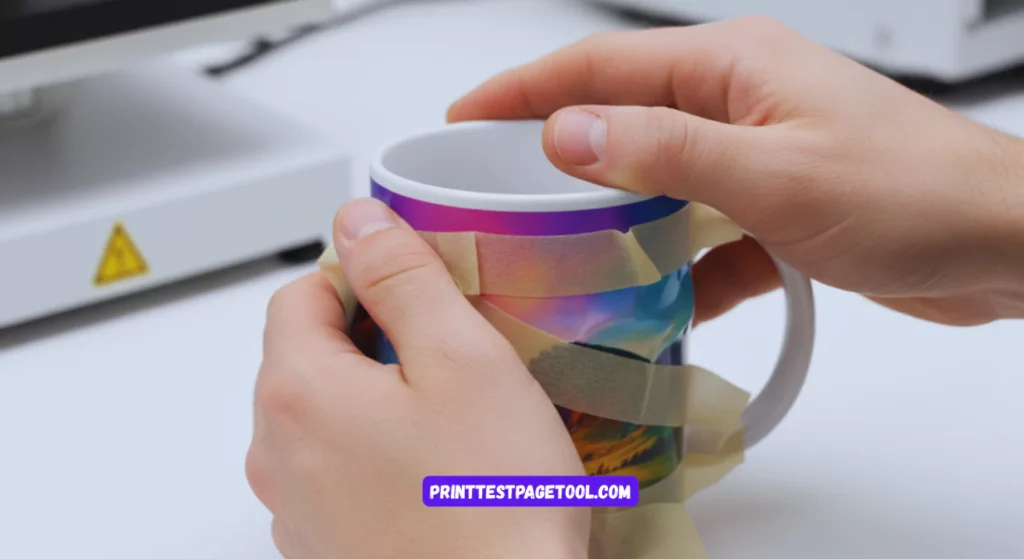
Heat Resistant Tape
- To hold the paper on the mug.
- Without tape, the paper may move and the design can get blurred.
Gloves
- Mugs get very hot during printing.
- Gloves keep your hands safe.
Tip:The first time, I tried to print on a normal mug. The ink did not stay and washed away after two days. Then I learned: always use a sublimation mug with the right paper and ink. This makes the print last long, even after frequent washing.
Points to Note Before Mug Printing
- Choose a smooth ceramic mug for best results.
- Pick a straight mug shape so the design looks perfect.
- Use a clear, high-quality photo for sharp printing.
- Print only on sublimation paper for strong colors.
- Select transfer paper with coating so the design lasts long.
- Get better results with the right ink and heat press.
DIY Mug Printing Process at Home
Follow these simple steps to print your own custom mug at home:
Choose Your Design
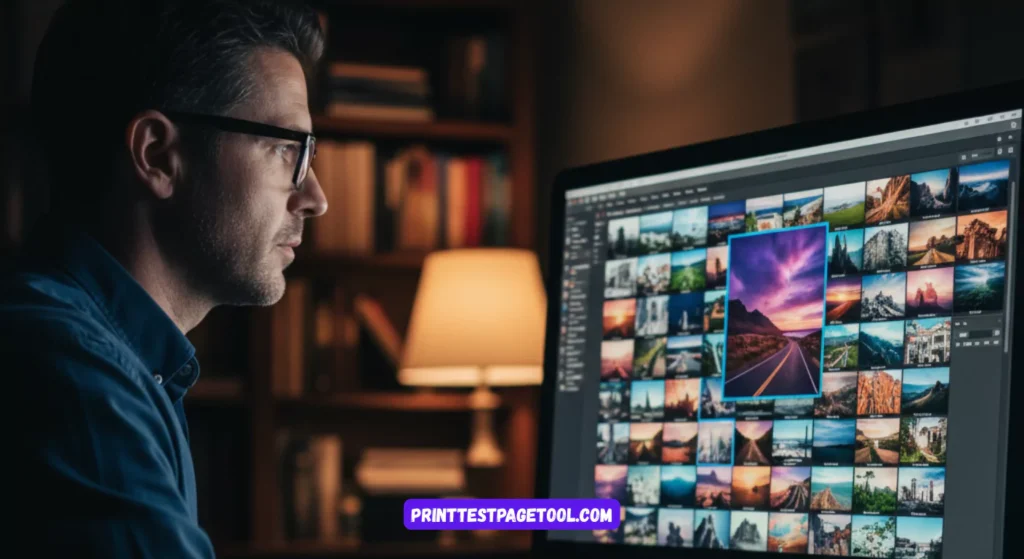
- Select a photo or logo.
- Bright colors and clear photos give the best result.
Print the Design

- Use a sublimation printer with sublimation ink.
- Print the photo on sublimation paper.
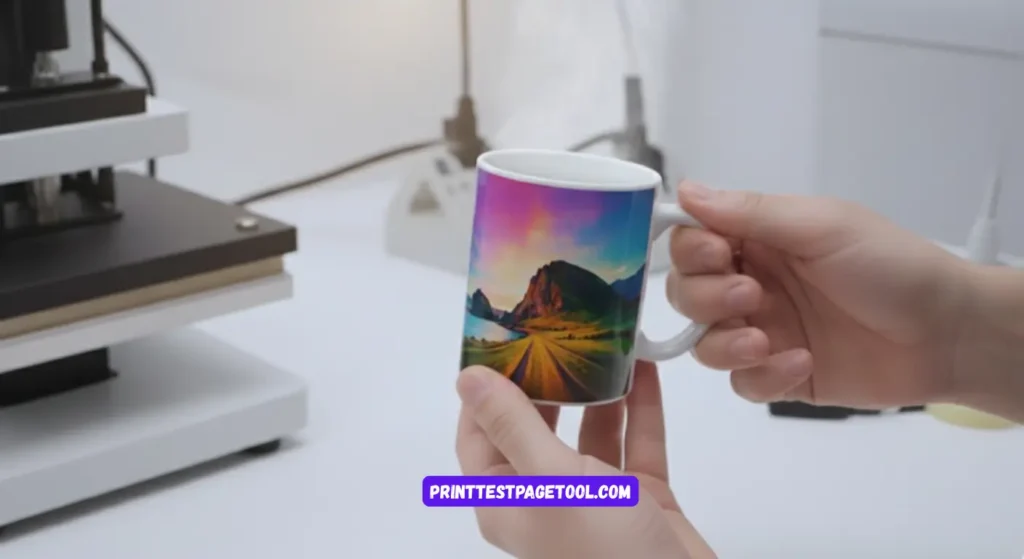
Cut and Place the Paper
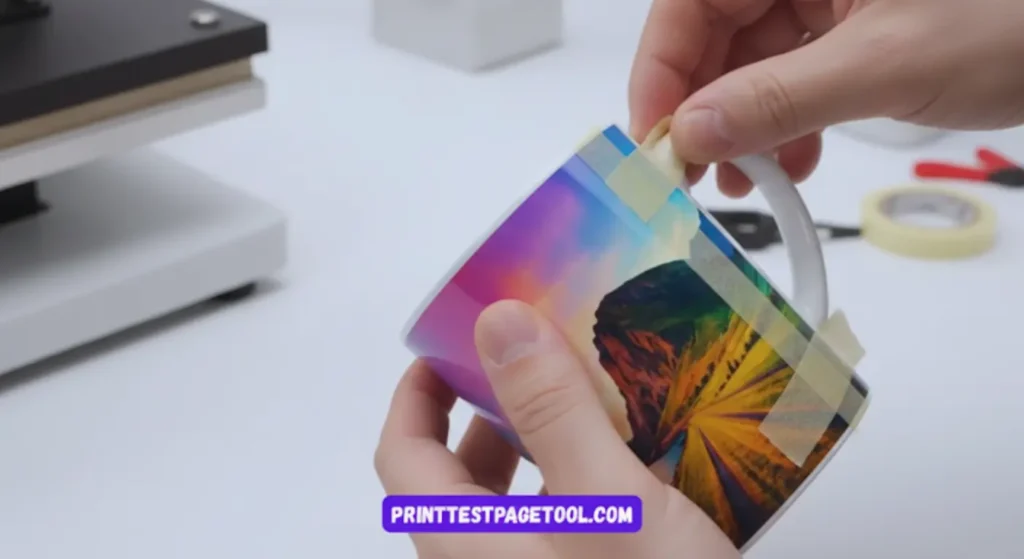
- Trim the paper to fit your mug.
- Tape it carefully on the ceramic mug.
Place the mug in a mug press machine.
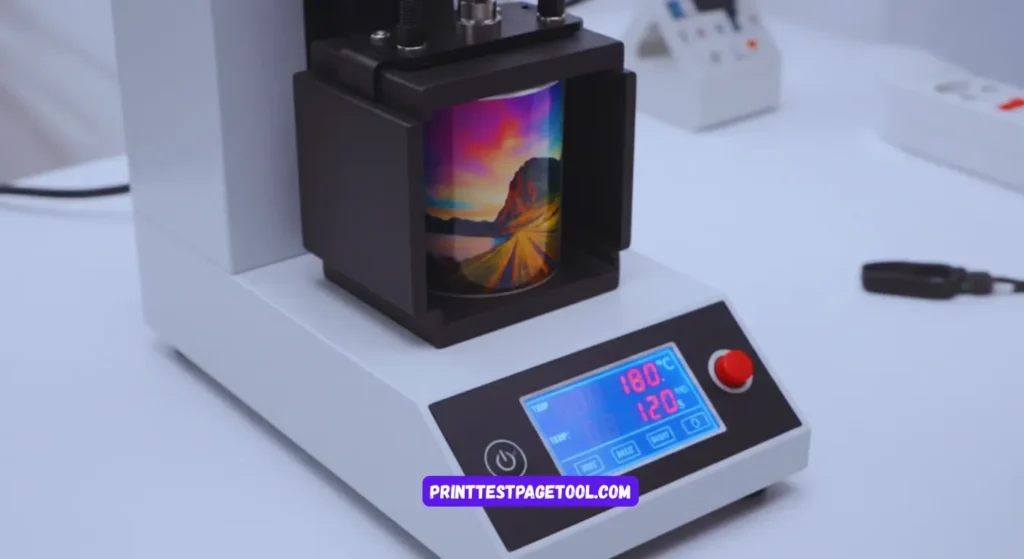
- Set the right temperature, time, and pressure (usually 180°C for 3–5 minutes )
Transfer the Design
- The heat and pressure will move the ink from paper to mug.
- Wait until the timer finishes.
Remove and Cool Down
- Remove the paper while the mug is still warm.
- Let the mug cool down before touching or washing.
Tip:The first time I tried, I rushed and opened the press early. The design looked faded. Now, I always wait for the full time, and my mugs come out bright and long-lasting.
Mug Printing with Iron at Home
If you don’t have a heat press machine, don’t worry! You can still try mug printing with a simple household iron.
Prepare Your Mug

- Use a ceramic sublimation mug with smooth surface.
- Clean it so there is no dust or oil.
Print and Place Design
- Print your photo on sublimation paper using sublimation ink.
- Cut it and tape it tightly on the mug
Heat with Iron
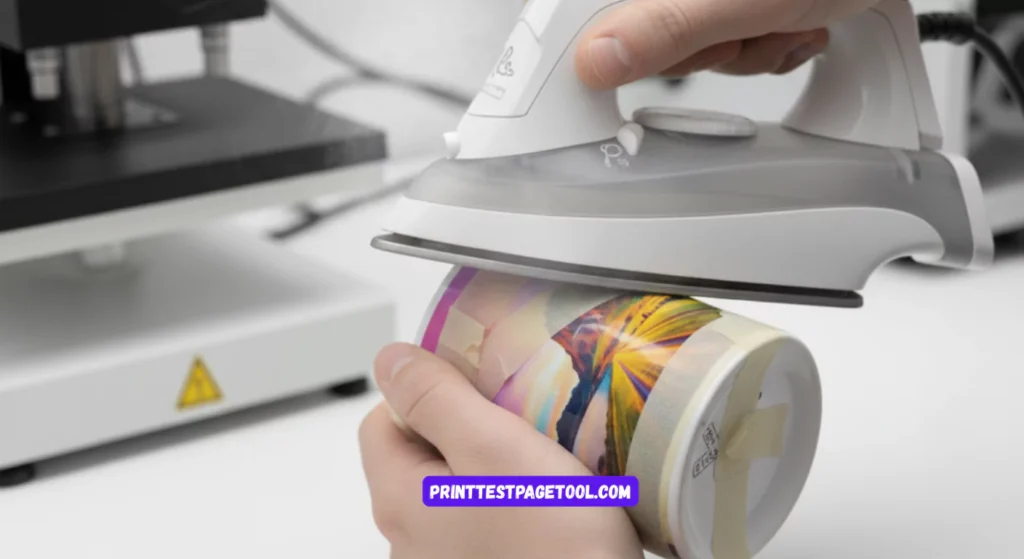
- Heat the iron to high temperature.
- Press it firmly against the paper, moving slowly so all sides get heat.
Wait and Remove
- Keep pressing for about 5–7 minutes.
- Remove the paper slowly once it cools a little.
Enjoy Your Custom Mug
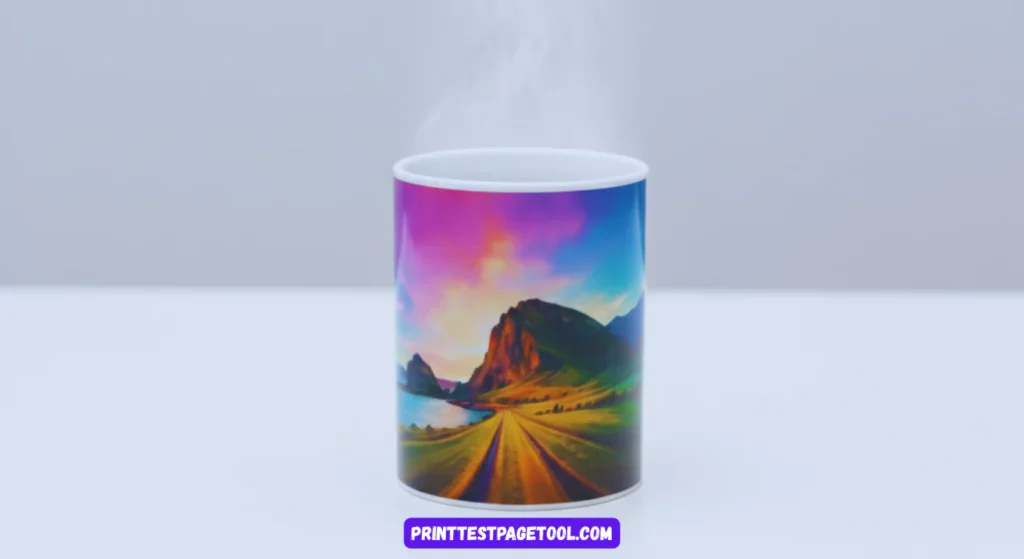
- Your design will appear on the mug surface.
Popular Mug Printing Methods
| Method | How it Works (Easy Words) | Best For | Pros | Cons |
|---|---|---|---|---|
| Heat Press | Print on sublimation paper → press mug at high heat | Bright photo mugs, gifts | Vibrant colors, long-lasting | Needs machine & coated mug |
| Iron Method | Place sublimation paper on mug → press with hot iron | DIY at home, budget gifts | Cheap, no machine needed | Colors lighter, not very durable |
| Screen Printing | Ink pushed through stencil on mug | Bulk logo mugs | Cheap for bulk, strong prints | Few colors only |
| UV DTF | Print on film → stick on mug | Small business, dark mugs | Works on many surfaces, pro look | Film tricky to handle |
| Pad Printing | Silicone pad transfers ink | Logos on curved mugs | Fast, works on odd shapes | Simple designs only |
| Heat Transfer | Print on transfer paper → press on mug | Short-term gifts, events | Easy, budget-friendly | Fades with washes |
| Laser Engraving | Laser beam etches design | Metal & premium mugs | Super durable, premium look | No colors, costly |
Why Mug Printing is Worth Trying
Mug printing is not only a fun hobby, it can also be a smart way to start a small business. With a sublimation printer, sublimation paper, and a heat press, you can make beautiful coffee mugs that stay bright and make people happy every day.
In my own journey, I first tried the iron method at home. It was not perfect, but it helped me learn. Later, when I bought a small mug press machine, the prints looked brighter, stronger, and more professional. Today, if I need many mugs for an event, I use professional sublimation printing. Every step gave me more confidence and better results.